A list of my favorite books, resources, supplies...
And other useful things.
Please note that some of the links on this page are affiliate links, which means that I receive a small percentage of the sale at no cost to you if you use the link to order. By clicking the links, you help me create more free painting resources!
Paint & Other Supplies Lists
Keep reading below for an up-to-date list of my primary painting supplies, including all the colors in my palette.
YouTube
For more free painting resources head on over to my Youtube, The Art of Hiking
Writing- Blog
I am also sharing more info, stories, and techniques on my new blog, The Art of Hiking.
I encourage you to start out by using whatever supplies you might already have on hand. Art supplies - especially the high quality paper and paints that I use in my lessons - can be quite pricy, so I always encourage students to start with what you have, and then add to your collection slowly over time (especially if you are new to the medium!). This allows you to decide what supplies you not only need, but are the most excited to try.
With that said, the tools that we use can make a big difference, and sometimes our frustration with watercolor might be caused by the limitations of our paper and paints and not our skills. I see this a lot, especially when students are having a hard time making gradients, blooms, or transparent color washes. This often occurs because low quality pigments can be opaque, more "sandy" in texture, or low in saturation. And, in the same way, cheap paper will dry out faster (because it is made from tree fiber instead of cotton) and it it much harder to create luminous washes of color or smooth gradients. I articulate these common frustrations to hopefully help you understand why these painting effects might be happening as you explore the wonderful world of watercolor materials.
Of all the things to invest in when we are starting out, I recommend getting a little bit of good 100% cotton paper, some paper to practice on (the Canson XL pads work well), and at least one dark color of high quality pigment, which can be used for monochromatic paintings. When I look back on my first few years of painting with watercolor, I know I learned the most from the single-pigment paintings I created using a single dark grey called Neutral Tint (made by Daniel Smith).
Again, you don't need all of this! I share these lists because I am asked about them at lot, and because I put a tremendous amount of thought and research into each thing I chose to carry with me, and I hope that is informative and fun to read about.
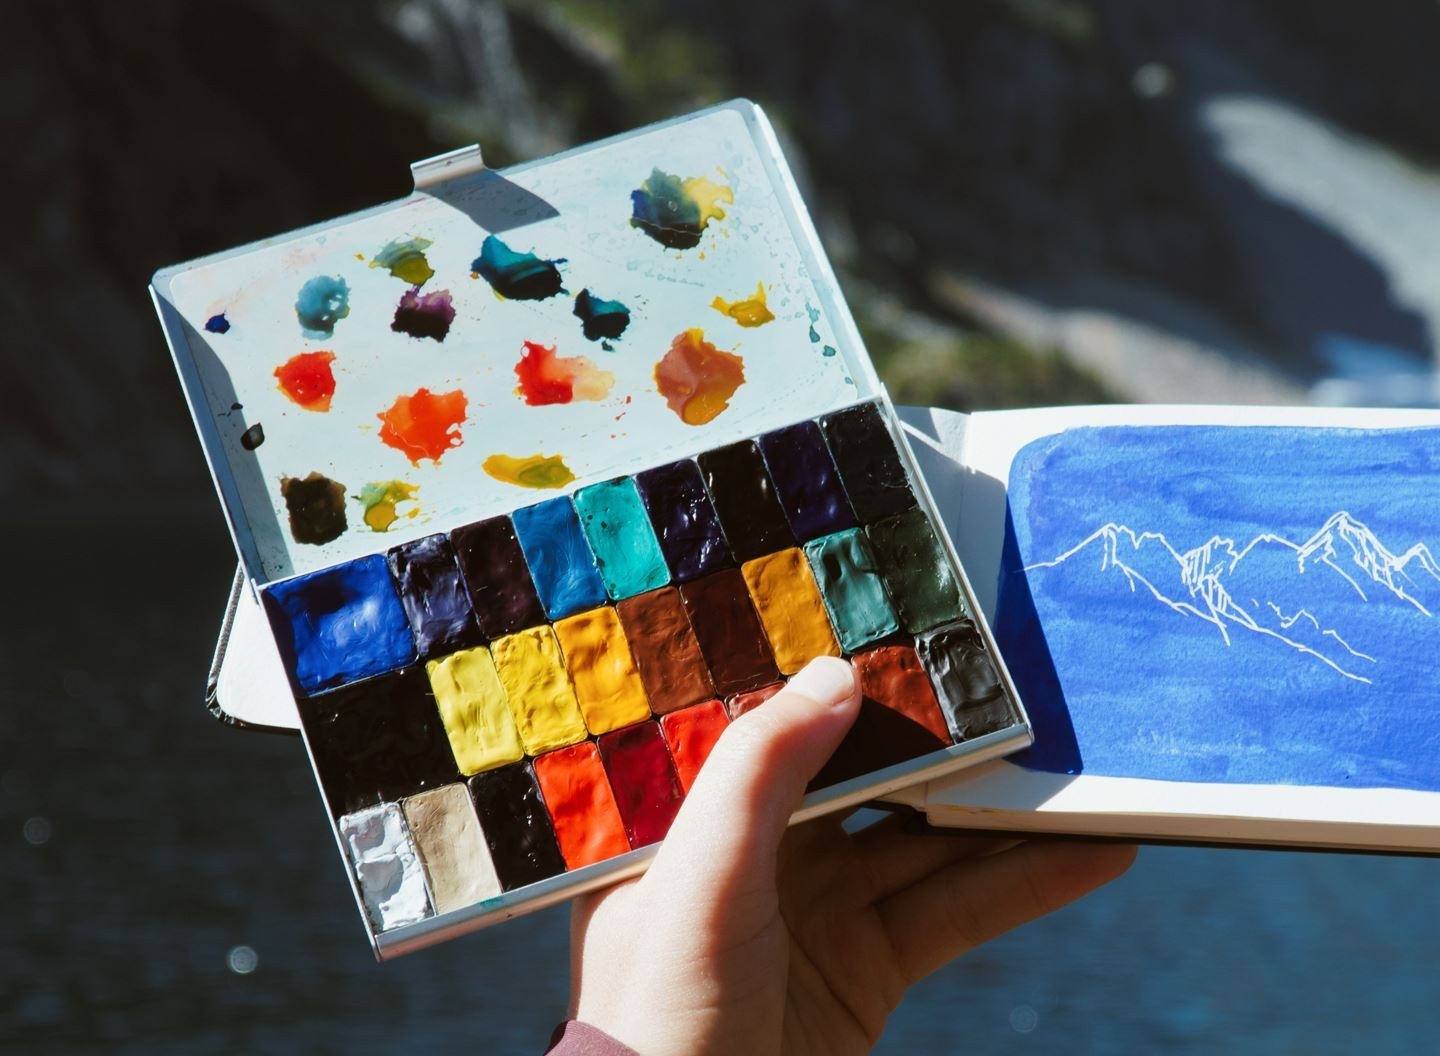
Paint Colors
Here is a list of all the colors I currently have in my watercolor palette. Unless otherwise noted, the paints are all made by Daniel Smith (chosen because of the slightly more affordable price, wider accessibility worldwide, and because it is the brand I started with. All artist-quality paints will perform well). As I always, I recommend you start with what you have, and then add supplies as you go. You most definitely do not need to buy all these colors to follow along with the lessons! The colors are organized by frequency of use (which does change if I am in a really different landscape like the desert).
I buy all of my paint from Blick, as it is the site that most consistently has the best prices.
Most-used Colors
- Phthalo Blue Green Shade
- Indanthrone Blue
- Cobalt Blue
- Ultramarine Blue
- Phthalo Blue Red Shade
- Quinacridone Rose
- Perylene Red
- Indian Red
- Quinacridone Burnt Orange
- Pyrrol Scarlet
- Quinacridone Violet
- Hansa Yellow Medium
- Quinacridone Gold
- New Gamboge
- White Gouache
- Neutral Tint
All the Other Colors in My Palette
- Sodalite
- Cobalt Teal Blue
- Cerulean Blue Chromium
- Carbazole Violet
- Transparent Pyrrol Orange
- Monte Amiata Natural Sienna
- Burnt Umber
- Perylene Green
- Phthalo Green Blue Shade
- Viridian
- Buff Titanium
- Perylene Violet
- Burnt Sienna
- Lunar Black
- Transparent Pyrrol Orange (new, not sure if I like it yet)
- Colors I am trying out- Jadeite and nickel azo yellow
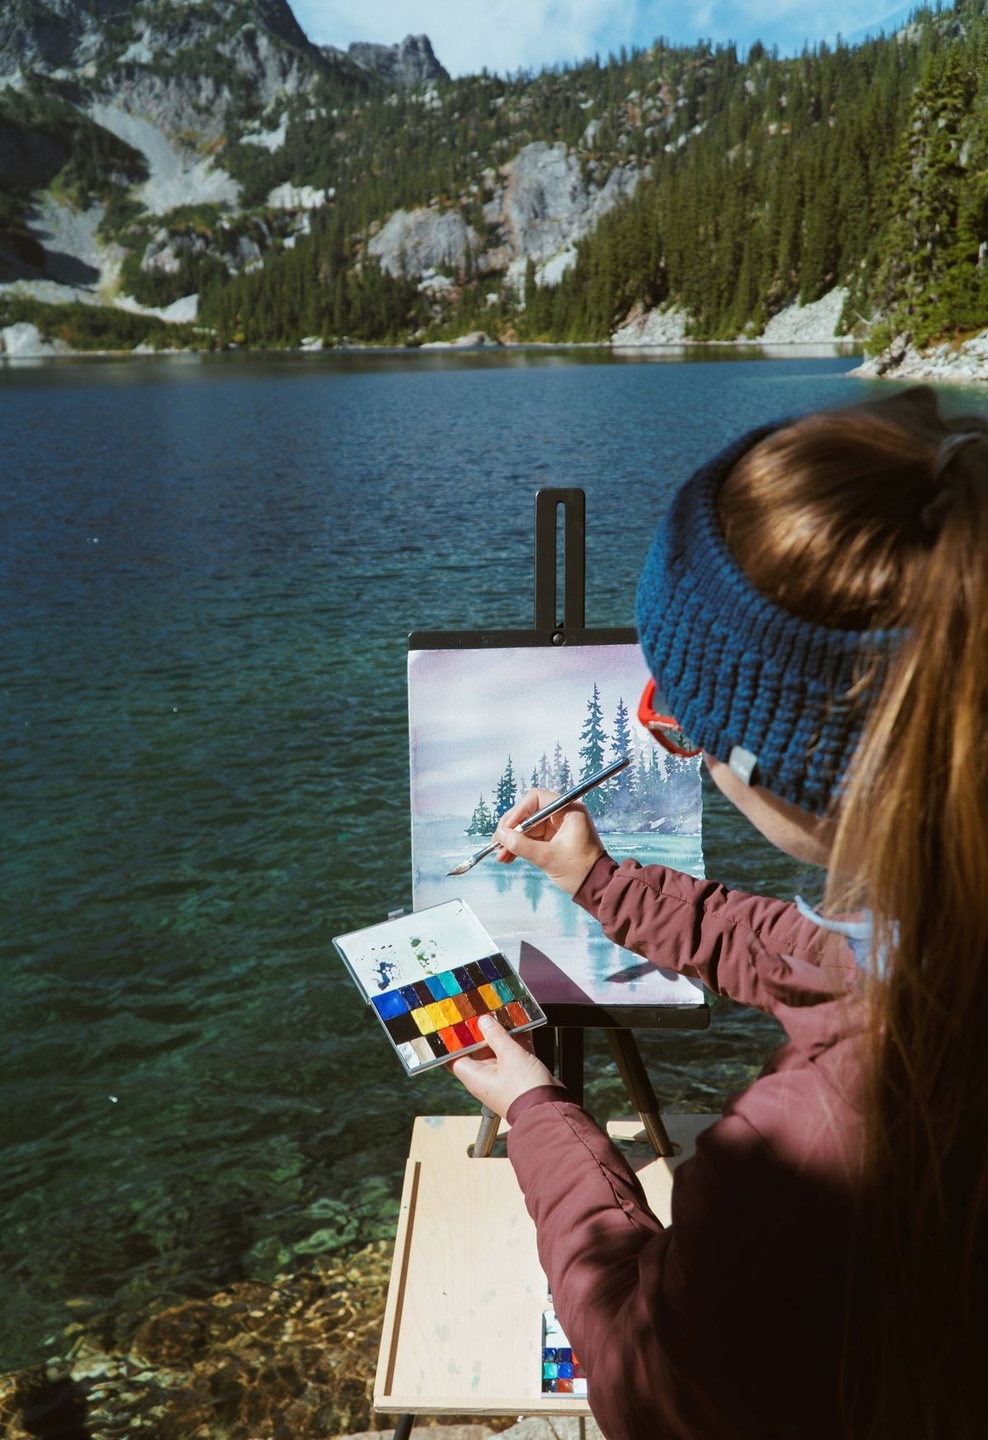
My outdoor painting kit:
- Paint: Daniel Smith Watercolor Tubes that I use to fill an Art Toolkit Folio palette (a really affordable and decent starter palette are the Windsor & Newton Cotman sets)
- Practice Paper- Canson XL watercolor pad of paper (non-archival and dries somewhat quickly, but it works great for practicing on!!)
- Watercolor Paper, Arches 140 lb cold press, torn to standard sizes (5x7, 8x10, 11x14 inches)
- Paintbrushes - usually a #10 round and a larger round brush
- Reusable blue shop towels or rag
- Pen- a Micron 05 size pen or the Platinum Fountain Pen
- Pencil (I prefer a mechanical pencil with soft lead so I don't have to sharpen when outside) and eraser
- Tin for water
- Paper is carried in a tyvek sleeve with an 11x14 inch piece of plastic cardboard (aka gatorboard) inside for rigidity
- I store my supplies in a little case made by Ultralite Sacks (I used to just store it in a ziplock)
Discount Codes: Some of these brands gave me special discount codes to use with their products. Any active codes are below.
- Art Toolkit- ARTOFHIKING5 for 5% off Art Toolkit Products
- Ultralite Sacks- code "adventureartacademy15" for 15% off the website.

Paper & Paintbrushes
Choosing paper and paintbrushes is a personal preference for many artists. I share my go-to tools here, but these are certainly not the only ones to use or the best for your painting practice. My choices are driven by a few factors: affordability, durability, and lightweight.
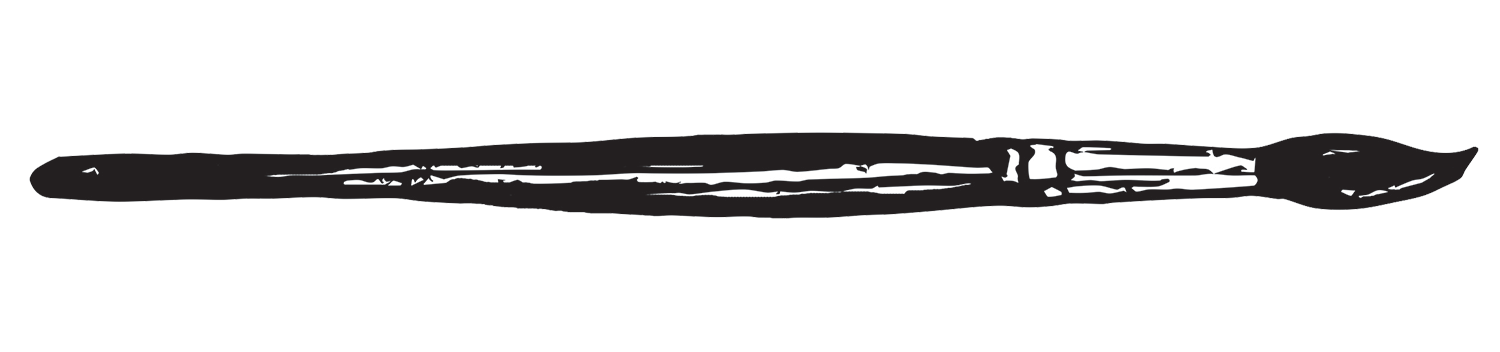
Brushes:
- My go-to paintbrush for the last five years has been a #10 round synthetic haired brush (golden takylon fibers) made by Grumbacher or Princeton. I like this size brush a lot because it is versatile and able to do really fine lines while also holding a good amount of paint and creating thicker lines as well. I am hard on my brushes so I prefer synthetic over a more pricy natural hair brush.
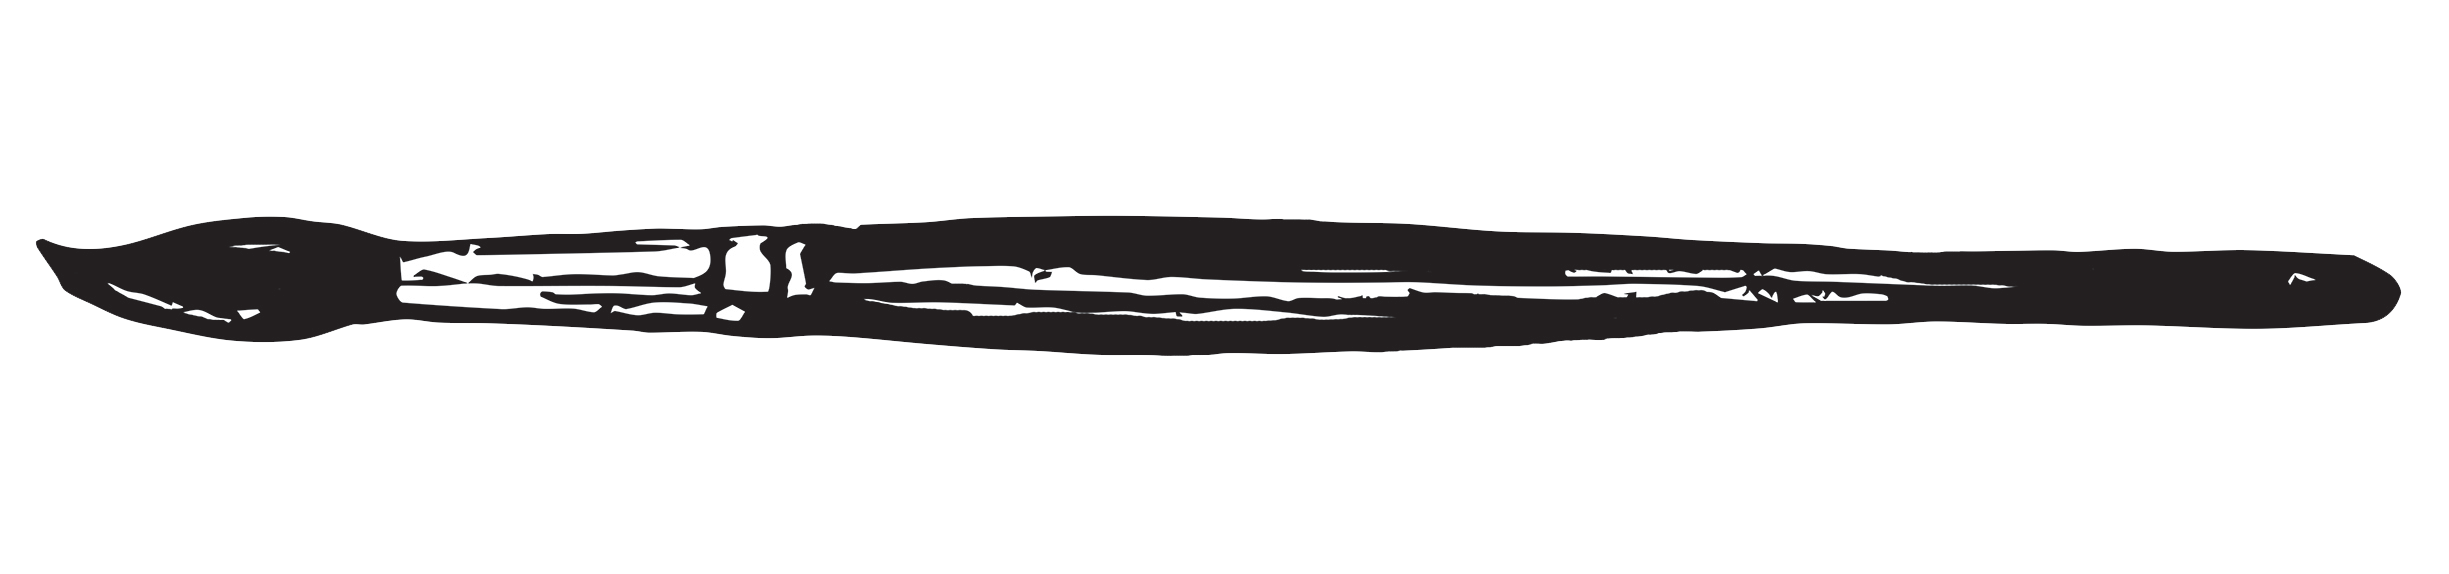
- Larger brush: on any trip where I will be painting an 11x14 inch piece or larger I add a round sumi ink brush (1/ in wide at the base). This style of brush is affordable, has great paint carrying capacity, and can also do fine and broad strokes. It lets me cover a lot of page quickly, while also doing great dry-brushing textures.
- Biggest brush: on rare occasions I will bring a 1.5 inch wide flat sumi ink brush, but ONLY if I am doing a half sheet painting.
- Smaller brushes: if my #10 round is older and no longer has a fine tip I’ll throw in a smaller one.
- For using with white gouache: I’ve really been enjoying using a ½ in (or roughly #8-10) flat brush when I mix gouache in with the watercolors. It adds a lovely diversity of brush strokes.
Paper:
My current go-to paper is the Arches 140lb cold press for almost every painting. I buy full-size sheets and tear them down to size- this is by far the most economical way to buy paper.
Sketchbooks:
I very rarely use a sketchbook because the paper is usually poorer quality, they are heavy, and because I like to carry a variety of paper sizes. There are some great sketchbooks out there, but I haven’t found one I like enough to use regularly (aside from the book for my ink sketches).
Ink Sketching Suplies
On december 29th, 2021 I began creating an ink sketch every day. I wanted to improve my ability to sketch scenes quickly and accurately, and pracitcing every day seemed like the best way to reach this goal. I always have a hard time, however, starting new habits, so I made a few simple rules to make it feel more attainable:
- Sketch everyday, and set a timer for for 10-45 minutes.
- Draw directly in ink- no pencil sketches first. No erasers.
- Let go of expectations- this is all practice, it won't be perfect.
It is now over 50 days later, and I can condifently say that sketching every day has helped me so much! I also know that finding materials I enjoyed using made a big difference. Here are the tools I like- they work for me, but as always, don't be afraid to experiment!
Ink Sketching Materials:
- Platinum Carbon Desk Pen - I tried a few other pens first (Platinum Preppy, Lamy Safari) and this one was by far my favorite!! BUT I did have to put better ink in it, because the ink that comes with it is quite grey and I really wanted pure black (and waterproof). I use this pen for fine lines. It has a nice feel and puts out very consistent line of ink.
- Pentel Pocket Brush Pen- I LOVE This pen. I've had it for years, and it is my go-to for expressive linework. Working with it also helped me be more confident with my paintbrushes, because the brush tip feels similar.
- MD Notebok (sketchbook) made in Japan- I graviated to this sketchbook because somehow the combination of the thin smooth paper and the simplicity helped me feel less "precious" about my sketches and worry less about making every page amazing. The smooth paper is also a delight to draw on with the pens.
- Platinum Carbon Black Ink- this ink is SO beautiful, Pure black, archival, and waterproof so I can use it alongside watercolor, too! Inks like this have larger particile sizes that can clog some fountain pens, but the Carbon Desk pen is made to go with this kind of ink, so it has yet to clog on me.
A last note on refilling ink- the pen I like so much needs to have the better ink added to it. To do this, I recommend simply emptying the lame ink out (you first have to put the cartridge on the pen, to break the seal) then in a sink rinse all the ink out and let it dry. Then using a blunt-tipped syringe you fill it up and put it on the pen! The other option is to buy a "ink converter" that lets you twist a cap and suck ink in. But, I found this to be messier and more expensive than buying a syringe (the converters also hold less ink).
Books
Watercolor/ Painting Books
- The Tate Watercolor Manual - Tony Smibert
- How to Paint Landscapes Quickly & Beautifully in Watercolor and Gouache – Nathan Fowkes
- Making Color Sing - Jeanne Dobbie
- Nature Drawing and Journaling - John Muir Laws
Other Good Resources
- The Graphic Design Guild Pricing & Ethical Guidelines
- Designing Your Life – Bill Burnett & Dave Evans
- The Artist’s Way – Julia Cameron
- The Creative Habit – Twyla Tharp
Inspiration Books
- Northwest Trees – Illustrated by Ramona P. Hammerly
- Braiding Sweetgrass - Robin Wall Kimmerer
- The Complete Woodblock Prints of Yoshida Hiroshi
- The Scenic Journey: The Paintings of Edgar Payne (most relevant for acrylic, oil, or gouache painting)